Setup Kubernetes Cluster With 2 Nodes on Vcenter
1. Login via ssh or console to 3 linux servers that we installed in previous post. You can login with root or your desired user. I don’t like to bother myself with sudo command, that’s why I have done everything with root user 😊
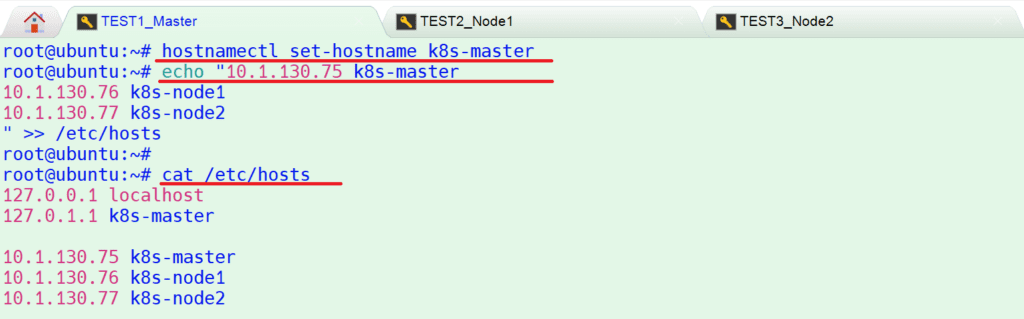
Set hostname and add entries in /etc/hosts file. You can use “hostnamectl” command to set hostname on each node
# hostnamectl set-hostname k8s-master // Run this command on master node
# hostnamectl set-hostname k8s-node1 // Run this command on node 1
# hostnamectl set-hostname k8s-node2 // Run this command on node 2
Add the following entries in /etc/hosts files on all nodes to let servers can communicate each other with domain names.
# echo “10.1.130.75 k8s-master
10.1.130.76 k8s-node1
10.1.130.77 k8s-node2
” >> /etc/hosts
2. Disable swap and enable IP forwarding on all nodes
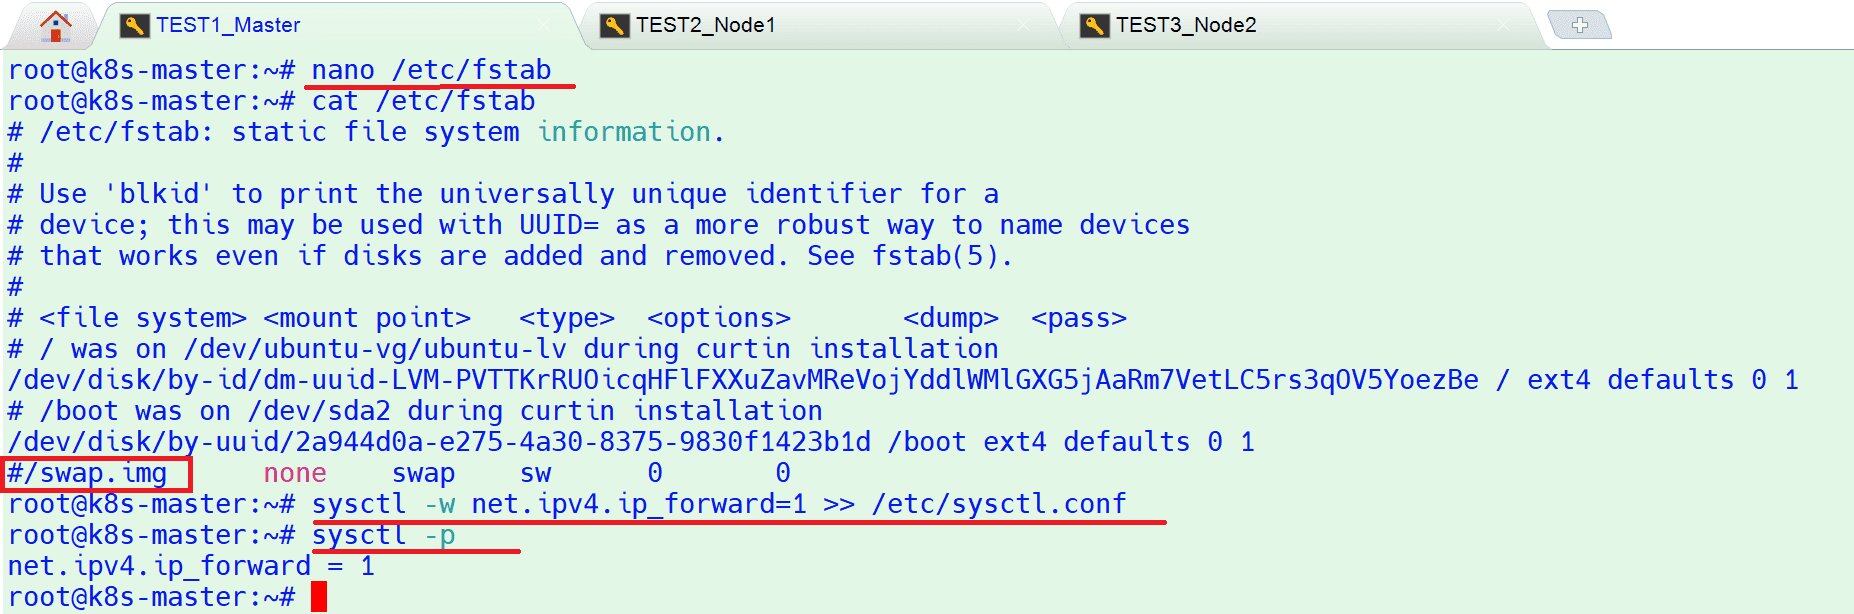
To disable swap, edit /etc/fstab file and comment out the line which includes entry either swap partition or swap file.
Add # symbol before swap.img in that file
# nano /etc/fstab
To enable the ip forwarding permanently,
# sysctl -w net.ipv4.ip_forward=1 >> /etc/sysctl.conf
# sysctl -p / to confirm ip forwarding
AND RESTART ALL NODES
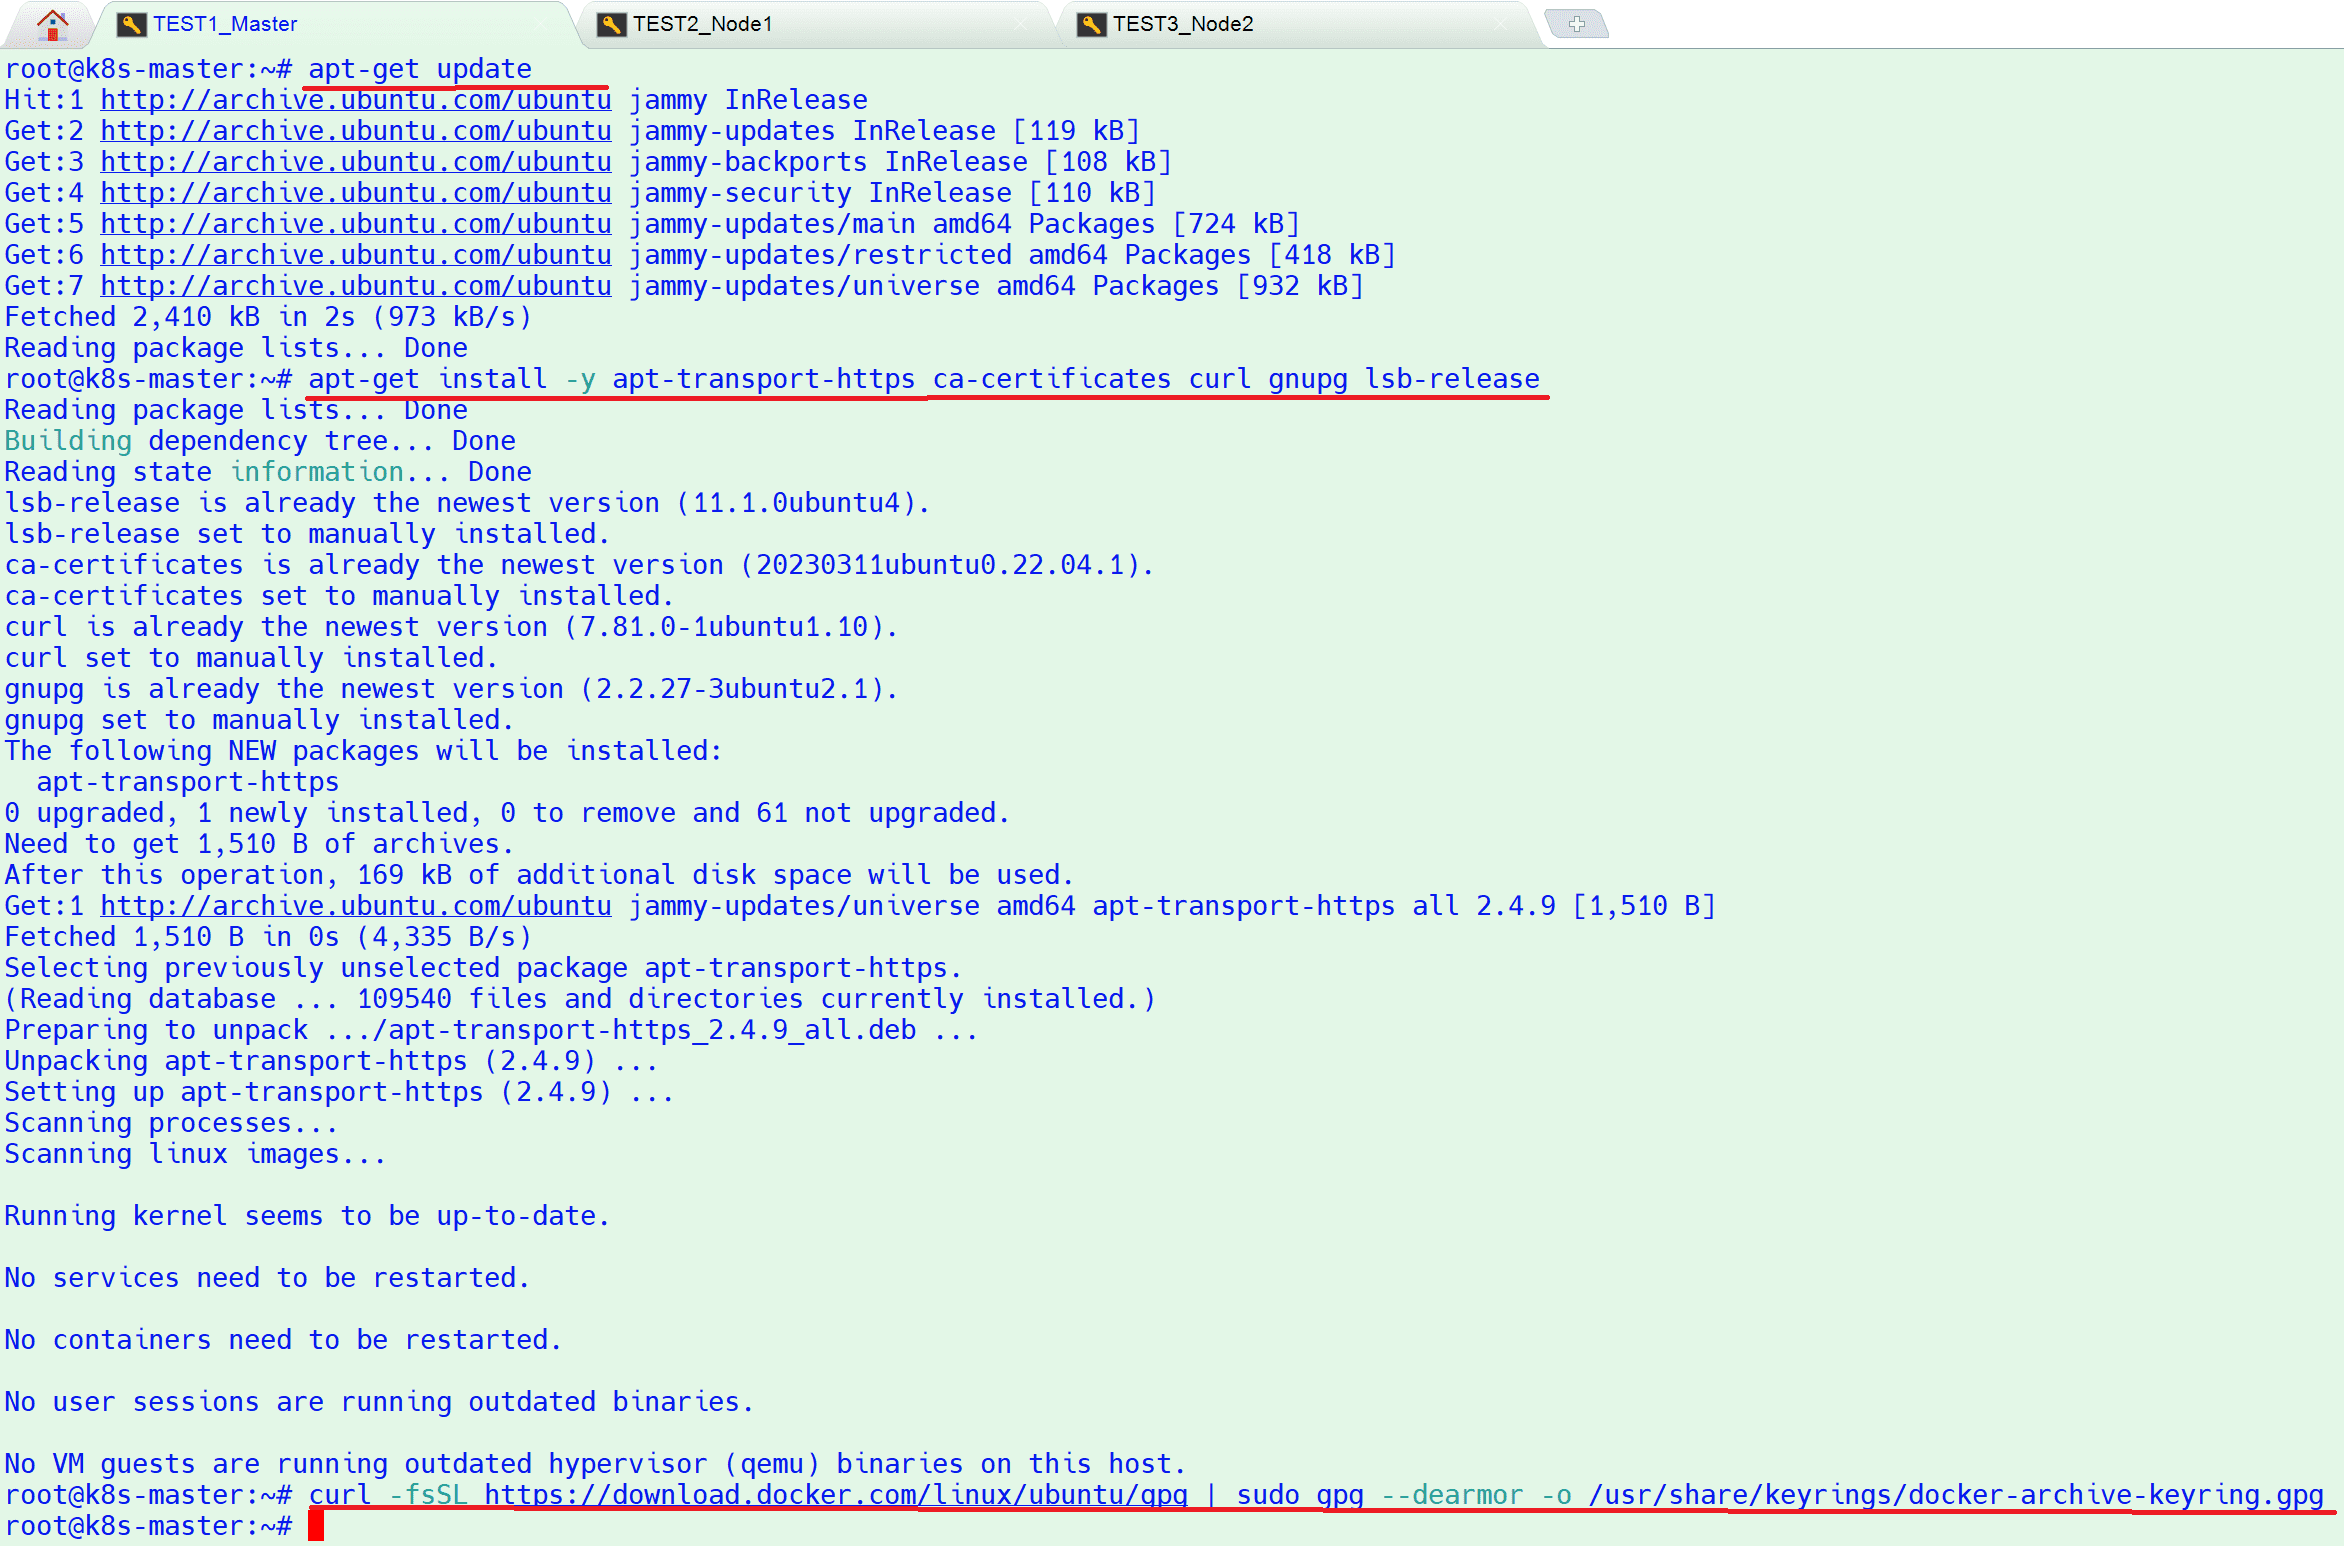
3. Install Docker (Container Runtime) on all 3 nodes. Login to each node and run the following commands to install docker
# apt-get update
# apt-get install -y apt-transport-https ca-certificates curl gnupg lsb-release
# curl -fsSL https://download.docker.com/linux/ubuntu/gpg | sudo gpg –dearmor -o /usr/share/keyrings/docker-archive-keyring.gpg
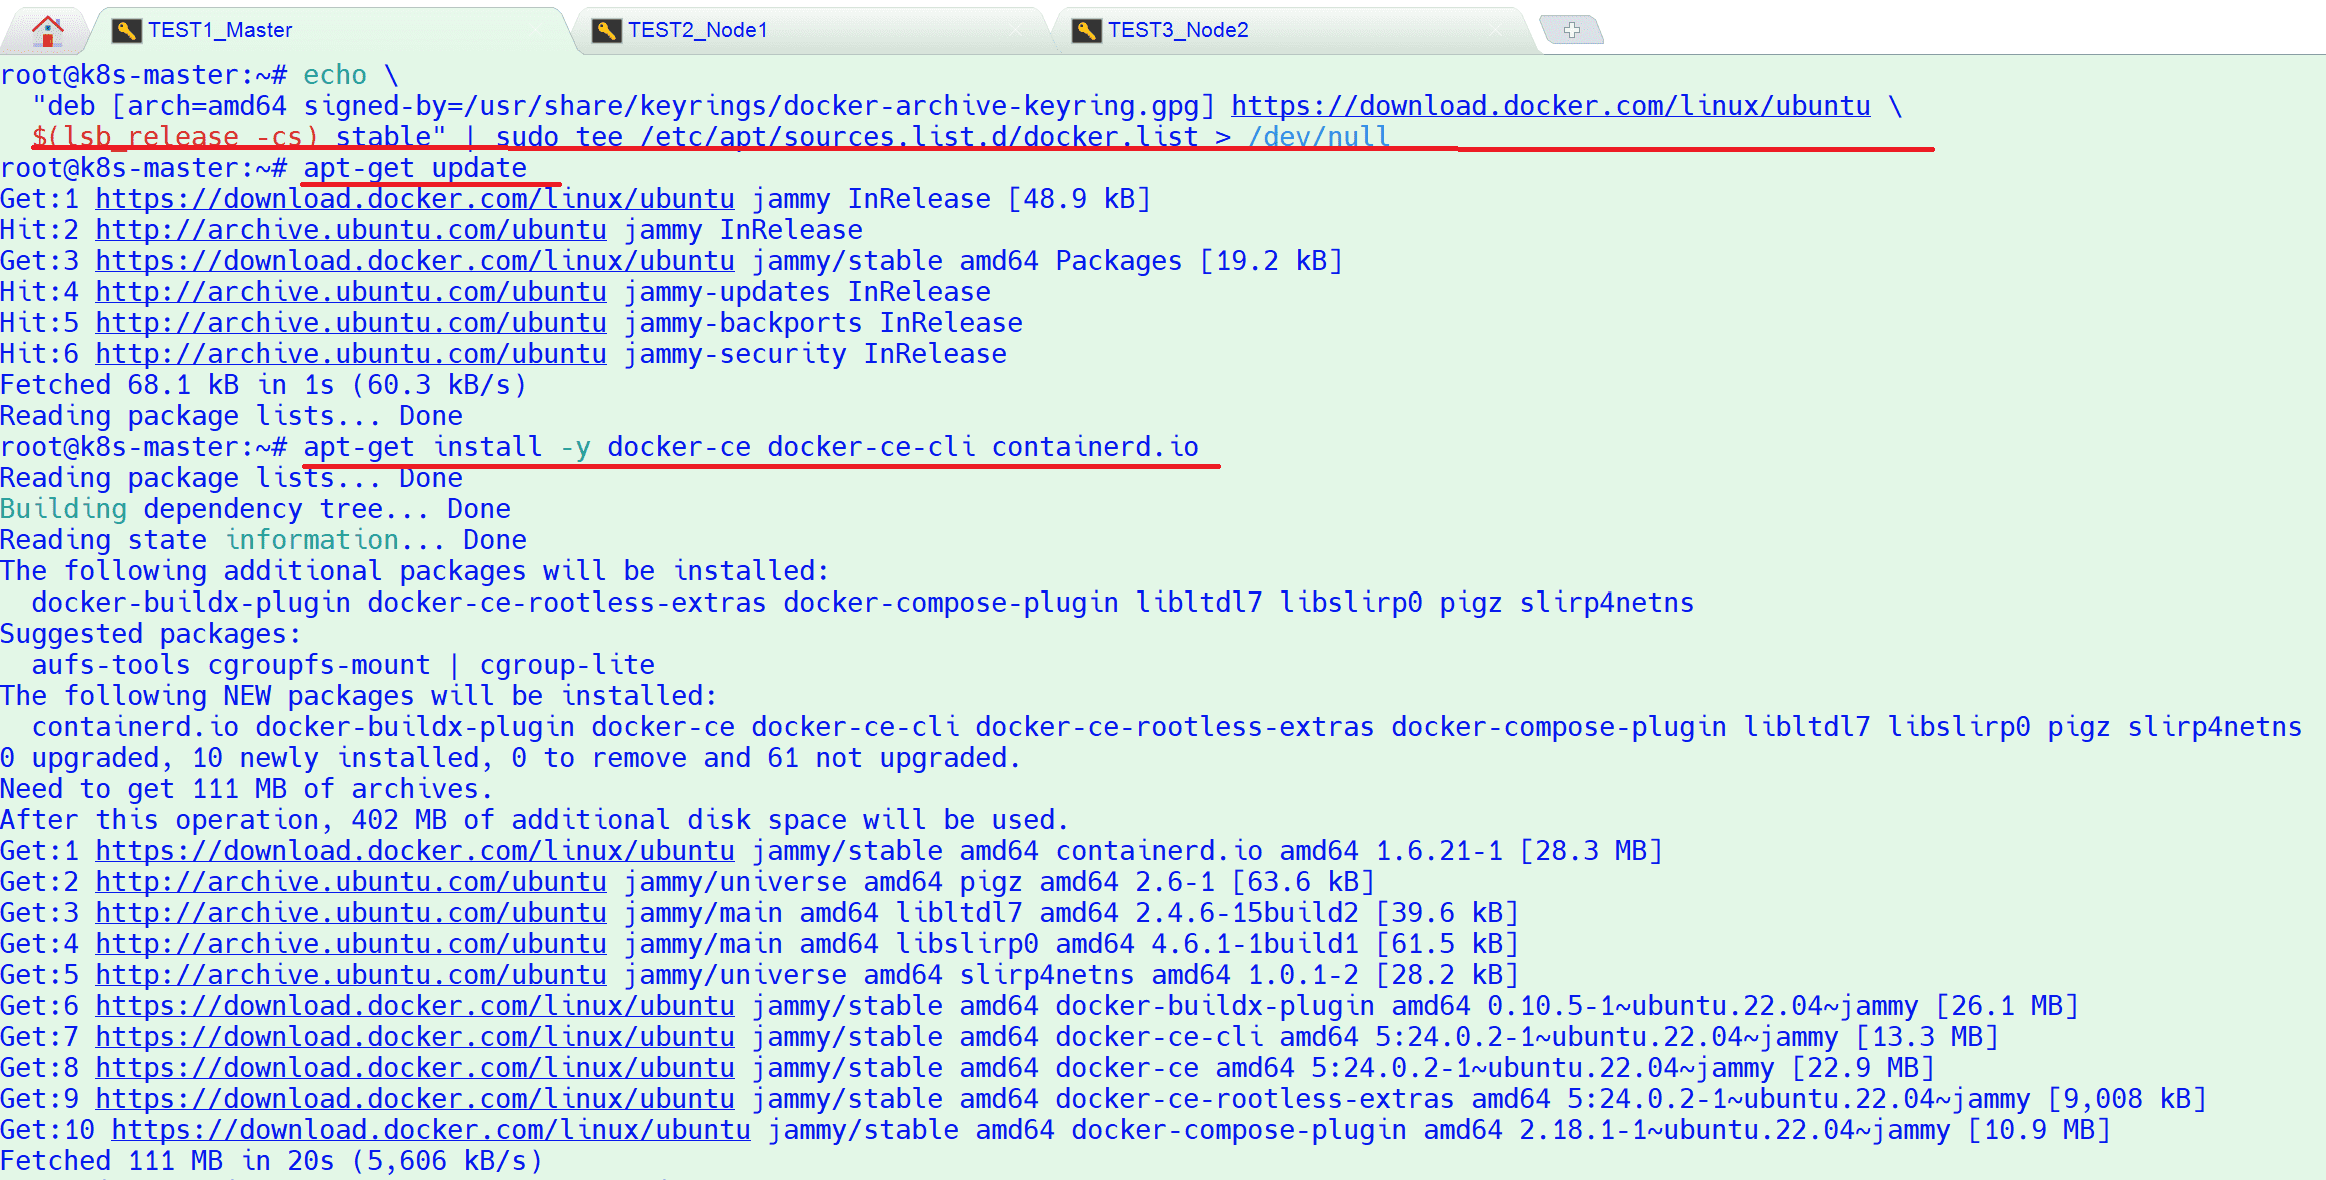
# echo \
“deb [arch=amd64 signed-by=/usr/share/keyrings/docker-archive-keyring.gpg] https://download.docker.com/linux/ubuntu \
$(lsb_release -cs) stable” | sudo tee /etc/apt/sources.list.d/docker.list > /dev/null
# apt-get update
# apt-get install -y docker-ce docker-ce-cli containerd.io
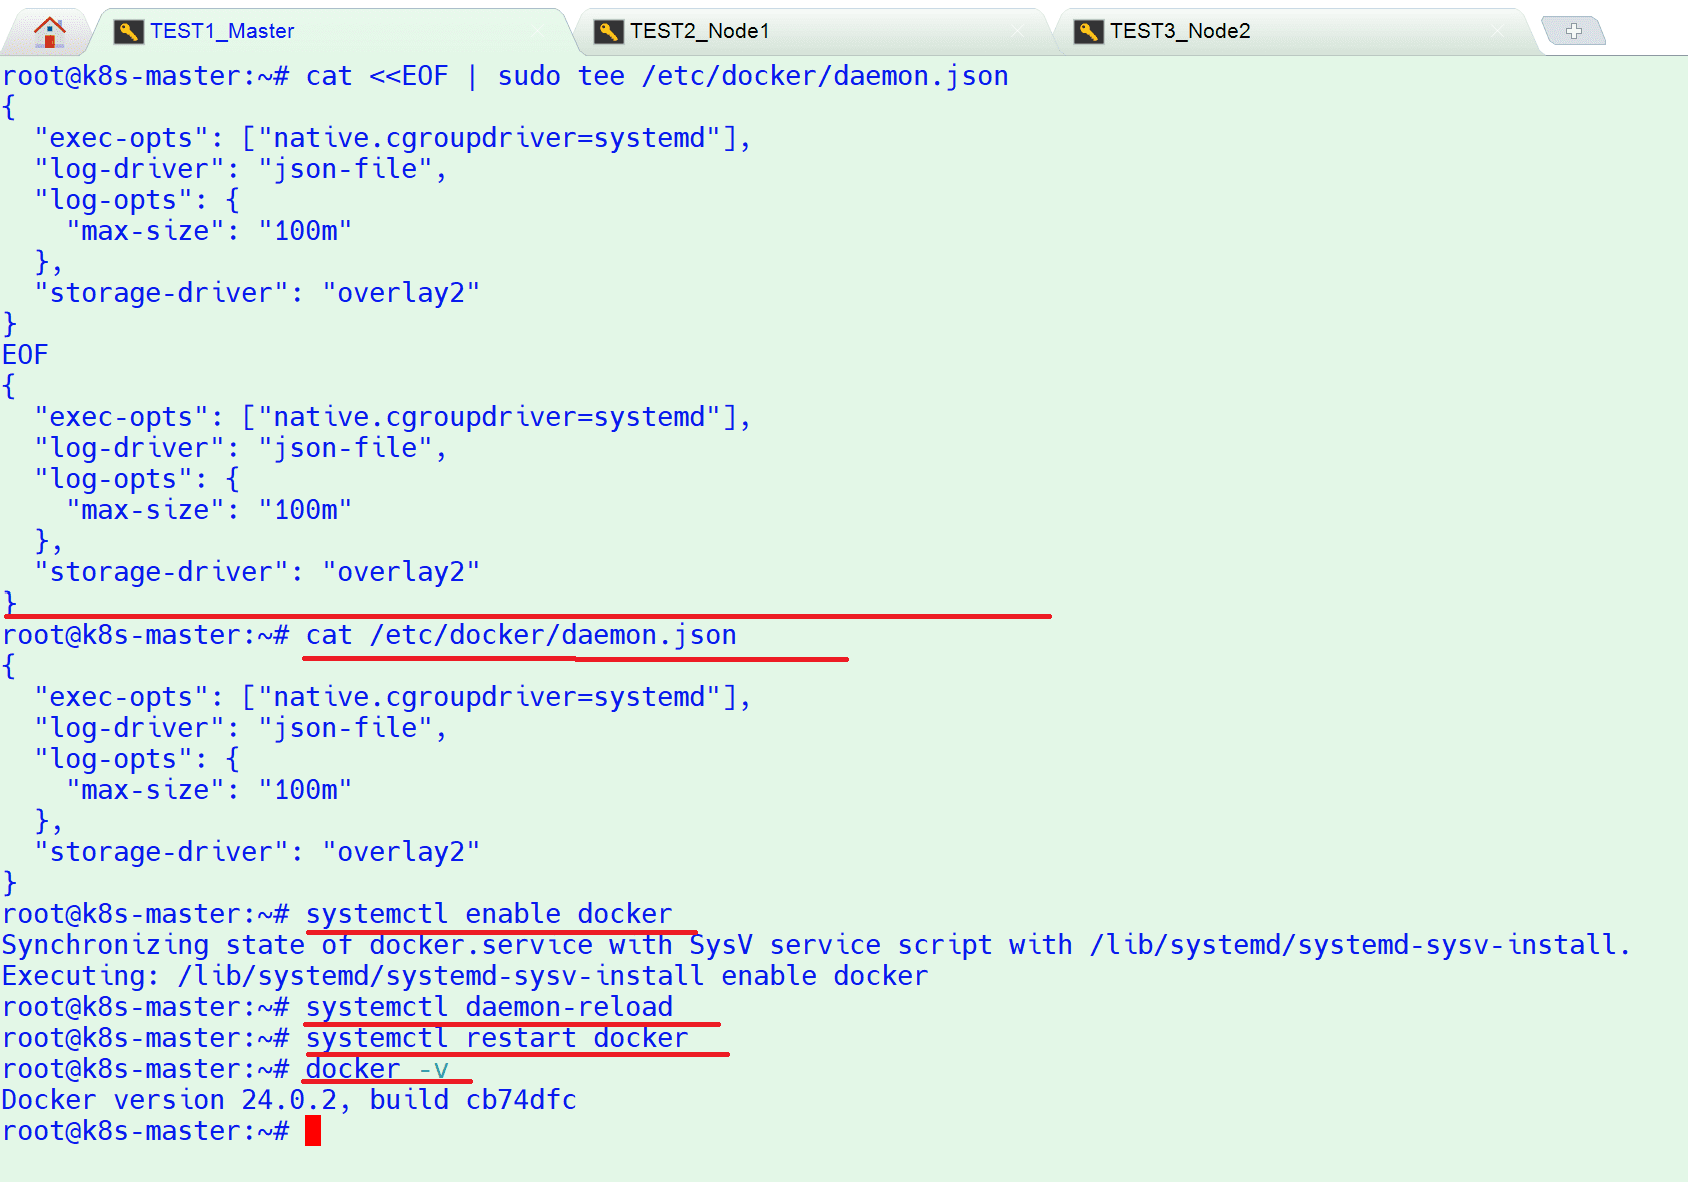
To Configure the Docker daemon, in particular to use systemd for the management of the container’s cgroups
# cat <<EOF | sudo tee /etc/docker/daemon.json
{
“exec-opts”: [“native.cgroupdriver=systemd”],
“log-driver”: “json-file”,
“log-opts”: {
“max-size”: “100m”
},
“storage-driver”: “overlay2”
}
EOF
# systemctl enable docker
# systemctl daemon-reload
# systemctl restart docker
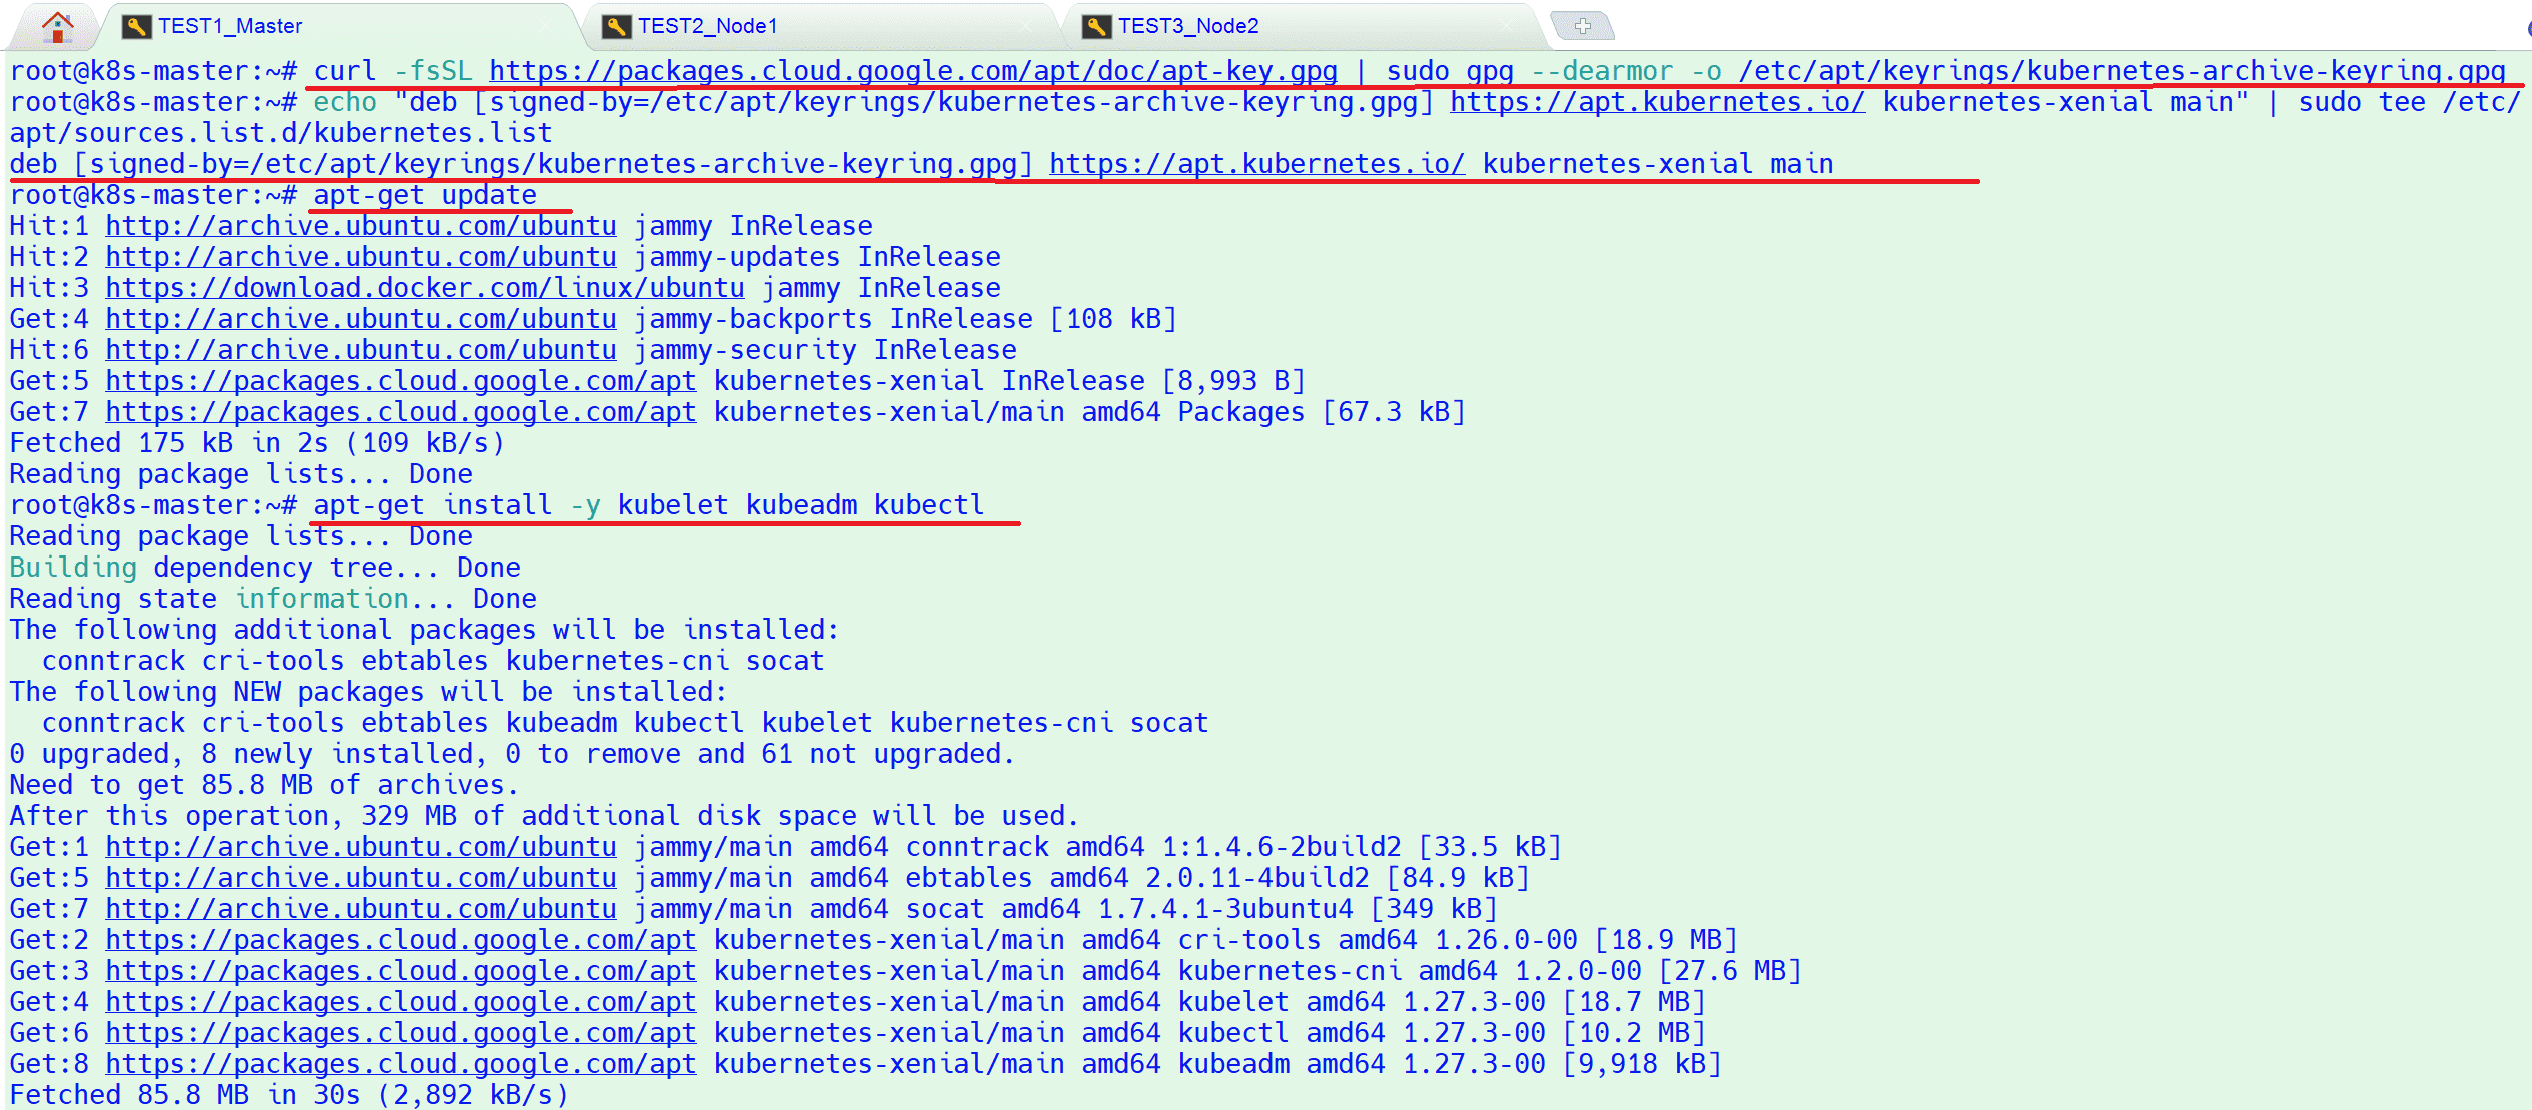
4. Install Kubectl, kubelet and kubeadm on all nodes. Run the following commands on all 3 nodes to install kubectl , kubelet and kubeadm utility
# curl -fsSL https://packages.cloud.google.com/apt/doc/apt-key.gpg | sudo gpg –dearmor -o /etc/apt/keyrings/kubernetes-archive-keyring.gpg
# echo “deb [signed-by=/etc/apt/keyrings/kubernetes-archive-keyring.gpg] https://apt.kubernetes.io/ kubernetes-xenial main” | sudo tee /etc/apt/sources.list.d/kubernetes.list
# apt-get update
# apt-get install -y kubelet kubeadm kubectl
# kubectl version

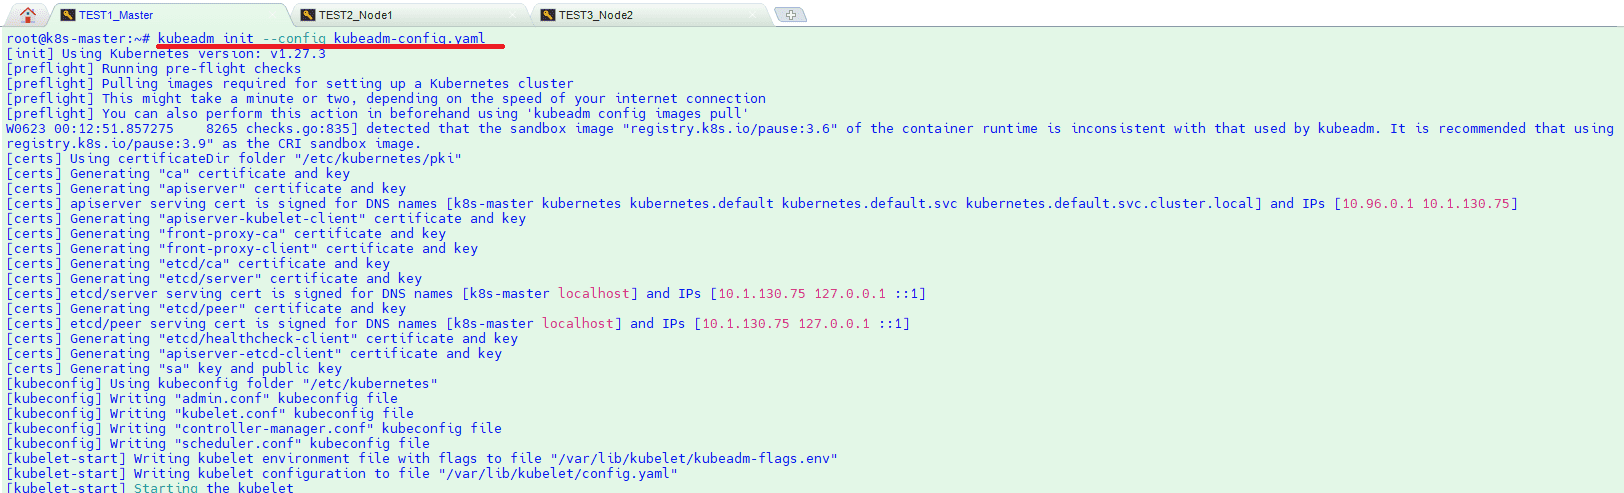
5. Initialize Kubernetes Cluster using kubeadm (from master node). Login to your master node (k8s-master) and run below ‘kubeadm init‘ command to initialize Kubernetes cluster. As first create a config file under home folder for 1.27.3 version. If you install newer version then you need to change “kubernetesVersion: v1.27.3” with your version.
# nano kubeadm-config.yaml
————————– kubeadm-config.yaml file content—————————————————-
kind: ClusterConfiguration
apiVersion: kubeadm.k8s.io/v1beta3
kubernetesVersion: v1.27.3
—
kind: KubeletConfiguration
apiVersion: kubelet.config.k8s.io/v1beta1
cgroupDriver: systemd
————————– kubeadm-config.yaml file content—————————————————-

6. Run below kubeadm command with config file to initialize cluster
# kubeadm init –config kubeadm-config.yaml
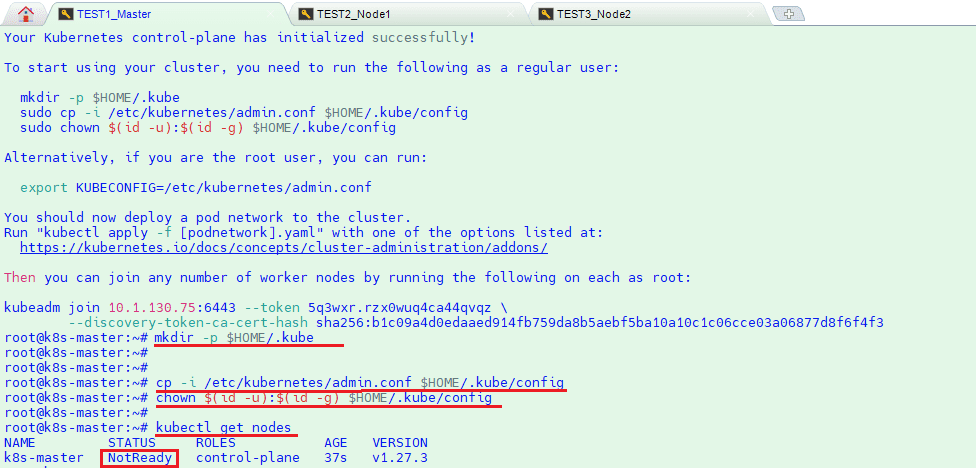
7. After initialization successful run below command to export config for user to be able to run kubectl commands
# mkdir -p $HOME/.kube
# cp -i /etc/kubernetes/admin.conf $HOME/.kube/config
# chown $(id -u):$(id -g) $HOME/.kube/config
By the way, if you have any problem or error with kubeadm initialization then you can reset and start again with below command
# kubeadm reset / to reset kube config
# journalctl -n 1 -u kubelet / to check kubelet logs
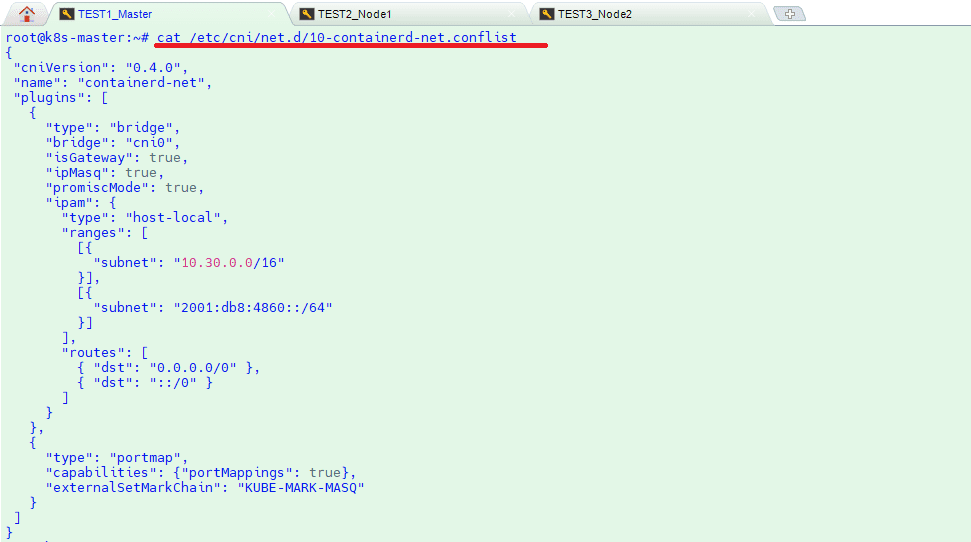
8. Apply below command or copy “/etc/cni/net.d/10-containerd-net.conflist” file to all nodes otherwise nodes will not be ready after calico deployment. You can change “subnet”: “10.30.0.0/16” ip block according to your design.
# cat << EOF | tee /etc/cni/net.d/10-containerd-net.conflist
{
“cniVersion”: “0.4.0”,
“name”: “containerd-net”,
“plugins”: [
{
“type”: “bridge”,
“bridge”: “cni0”,
“isGateway”: true,
“ipMasq”: true,
“promiscMode”: true,
“ipam”: {
“type”: “host-local”,
“ranges”: [
[{
“subnet”: “10.30.0.0/16”
}],
[{
“subnet”: “2001:db8:4860::/64”
}]
],
“routes”: [
{ “dst”: “0.0.0.0/0” },
{ “dst”: “::/0” }
]
}
},
{
“type”: “portmap”,
“capabilities”: {“portMappings”: true},
“externalSetMarkChain”: “KUBE-MARK-MASQ”
}
]
}
EOF
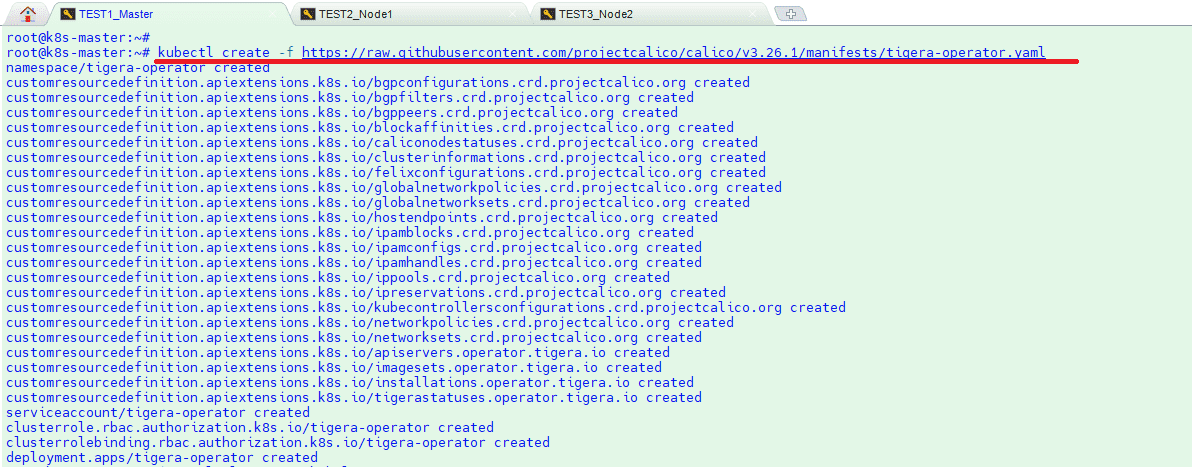
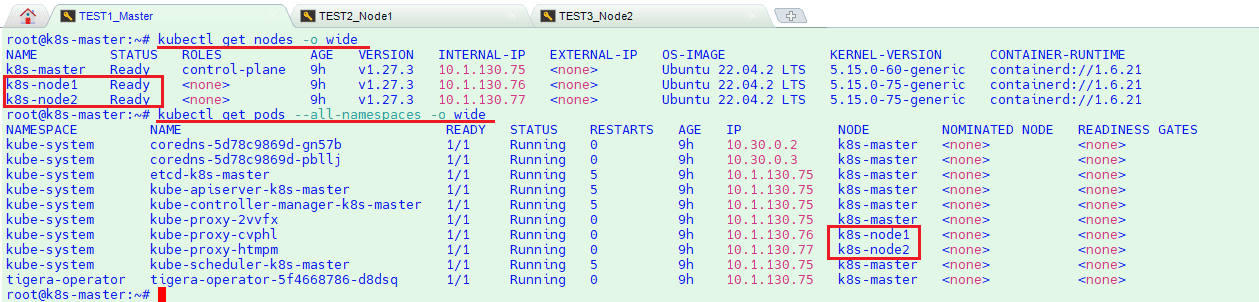
9. Deploy Calico Pod Network Add-on (Master Node). From the master node, run the following command to install Calico pod network add-on. Once it has been deployed successfully then nodes status will become ready, let’s re-run kubectl command to verify nodes and pods status.
# kubectl create -f https://raw.githubusercontent.com/projectcalico/calico/v3.26.1/manifests/tigera-operator.yaml
# kubectl get nodes -o wide
# kubectl get pods –all-namespaces -o wide

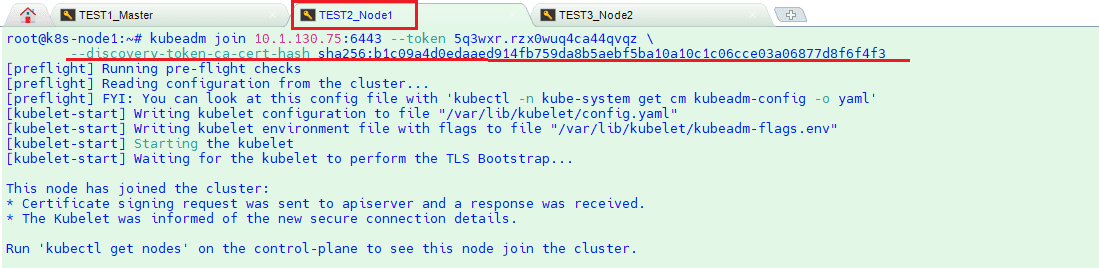
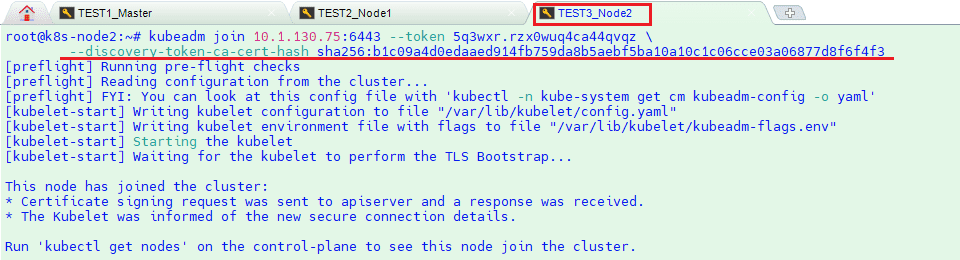
10. Now Join the worker nodes (k8s-node-1/2) to cluster, command to join the cluster is already there in the output.
Copy “kubeadm join” command and paste it on both nodes (worker nodes). Login to Node1 and Node2 and run following command
# kubeadm join 10.1.130.75:6443 –token i6z5ig.14dcsv0emzhi8an4 \
–discovery-token-ca-cert-hash sha256:879fe23bc878e7d0a6f1de8e6d60479bf8d8a1c40b774659d88ae62409eea9d6
11. And then run below command to see nodes and pods status
# kubectl get nodes -o wide
# kubectl get pods –all-namespaces -o wide
12. If you want to enable bash completion feature on your master node, execute the followings. You can define your own alias for kubectl command as you desire instead of “k”
# echo ‘source <(kubectl completion bash)’ >>~/.bashrc
# echo ‘alias k=kubectl’ >>~/.bashrc
# echo ‘complete -o default -F __start_kubectl k’ >>~/.bashrc
# source .bashrc

Now we are ready to deploy our applications on Kubernetes cluster on our on-premise virtual machines.
Congrats !!!
<< GO TO HOW TO DEPLOY PYTHON APP MAIN POST >>