Setup Linux Sever on Vcenter and Create VM Template
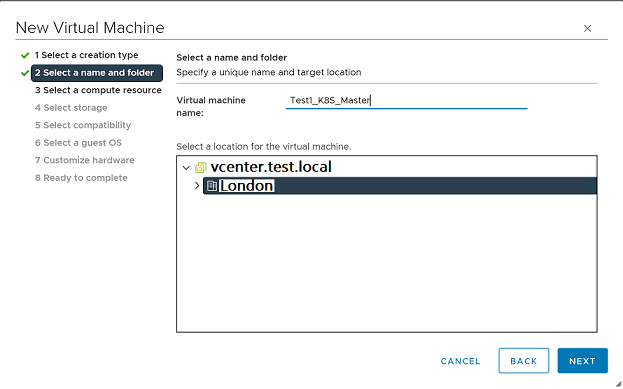
1. Go to Vcenter management interface and click to Actions to create New Virtual Machine. Write a name for your virtual machine
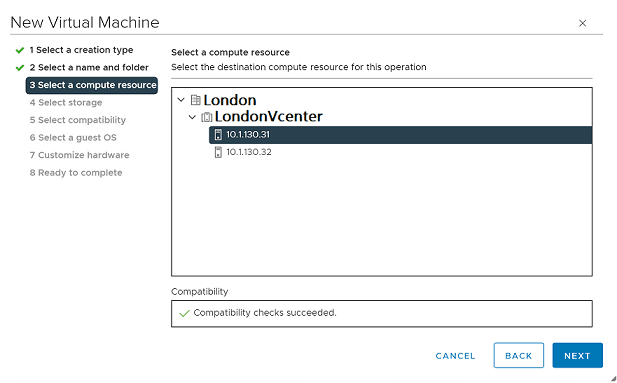
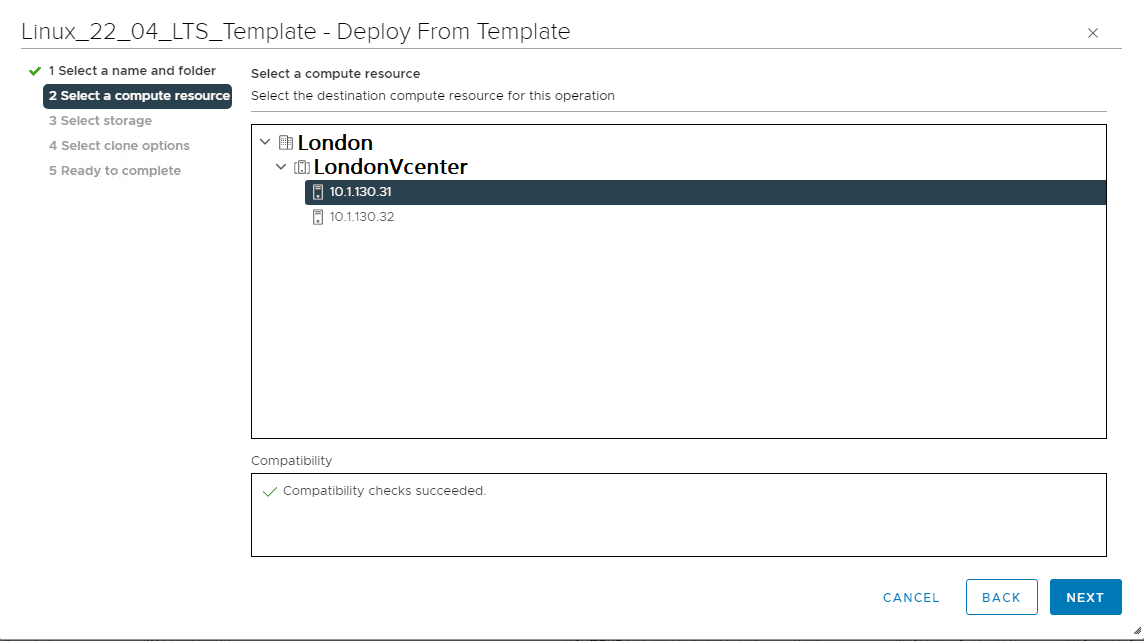
2. Select a compute resource for vm
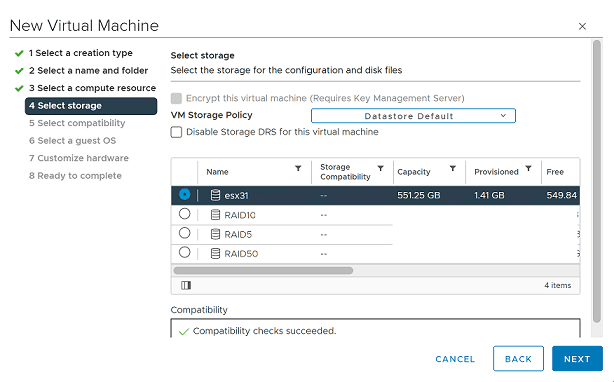
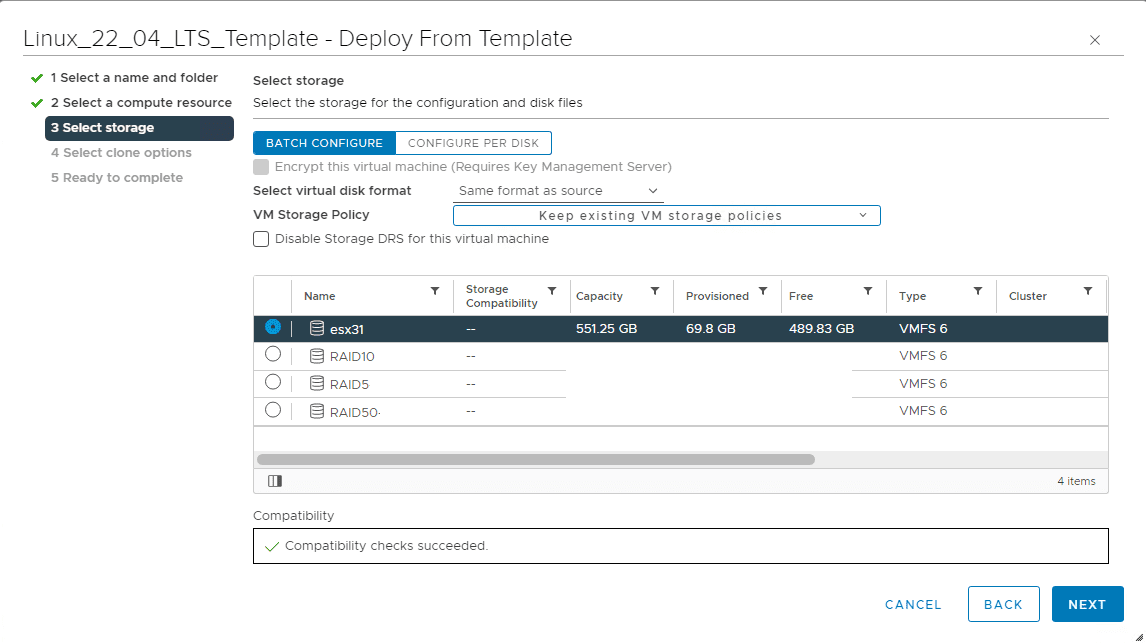
3. Select storage pool to save your vm files
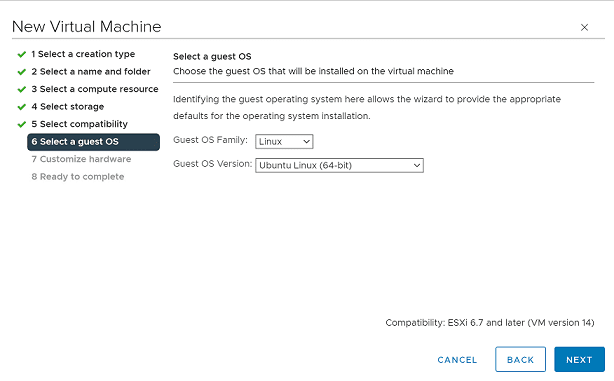
4. Select operating system to install
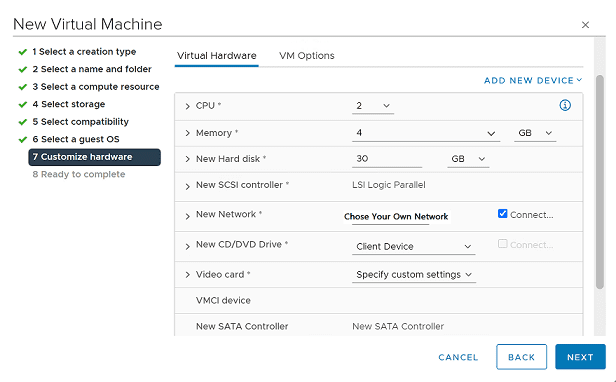
5. Configure hardware for your vm. You can set 1 core cpu and 2 gb ram for test environment. If you install K8S for business environment then you need to consider to increase hardware according to your application requirements
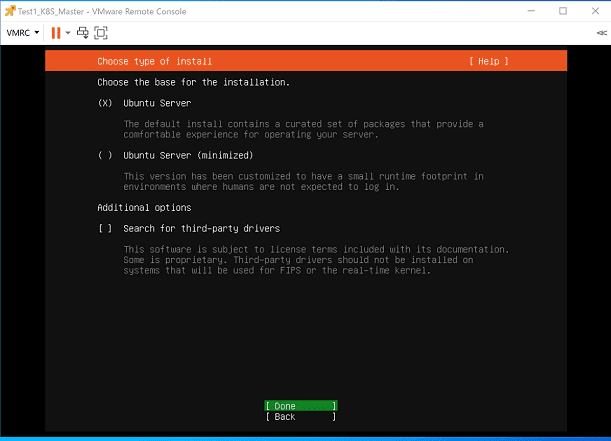
6. I assume that you already know how to add Linux server installation dvd on vmware remote console screen to start to install linux. Choose Ubuntu Server and click or enter on Done
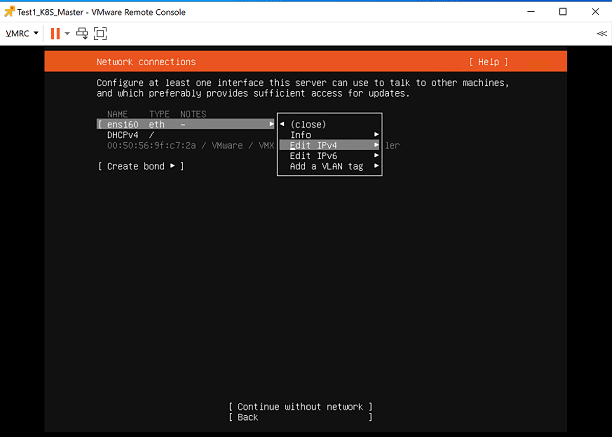
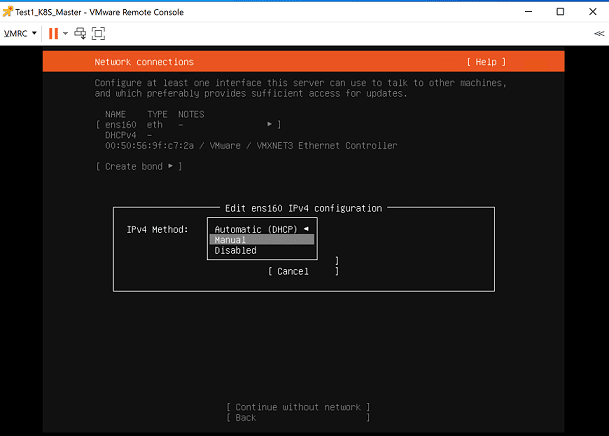
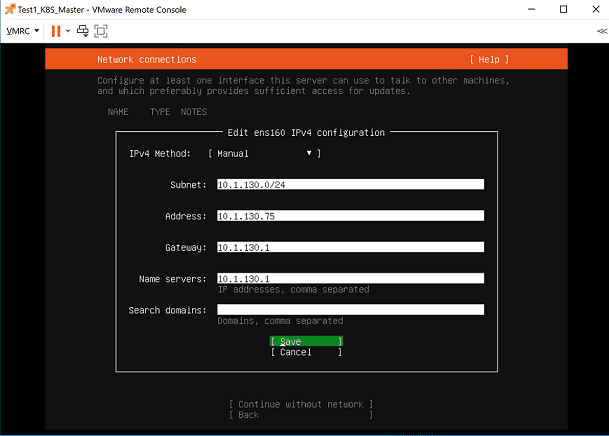
7. Press Enter on your ethernet card name to assign manual ipv4 address unless you want it automatic. If you can not see your ethernet card automatically in this screen, because of your linux server and vmware version, linux setup might not see ethernet card, but no worries, you can install vmware tools after setup finished to be able to configure ipv4 address
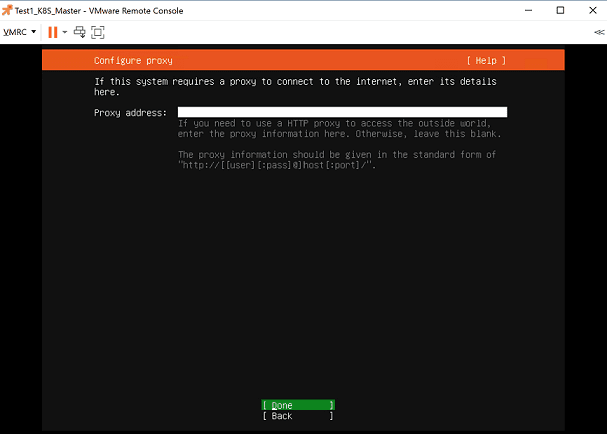
8. If you use proxy address to reach internet in your it infrastructure, you should write your proxy url here
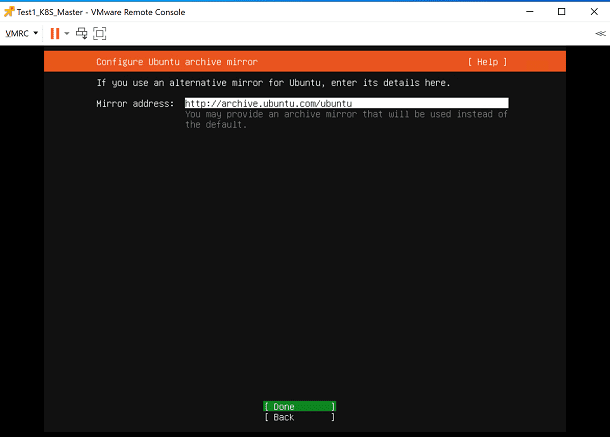
9. If you don’t use specific archive mirror address for linux packages just click to Done to forward
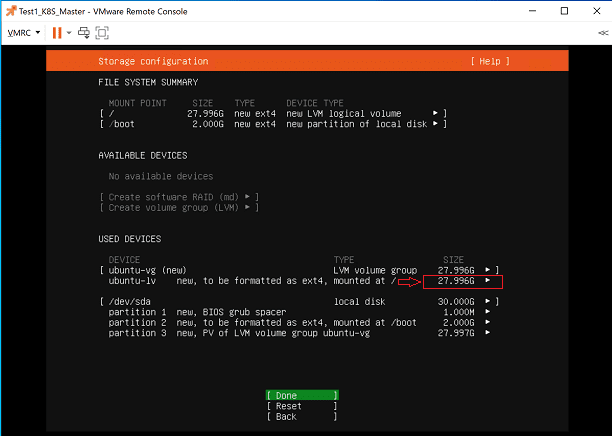
10. If you want to use whole disk for ubuntu then choose Use an entire disk and click to Done to configure disk partition
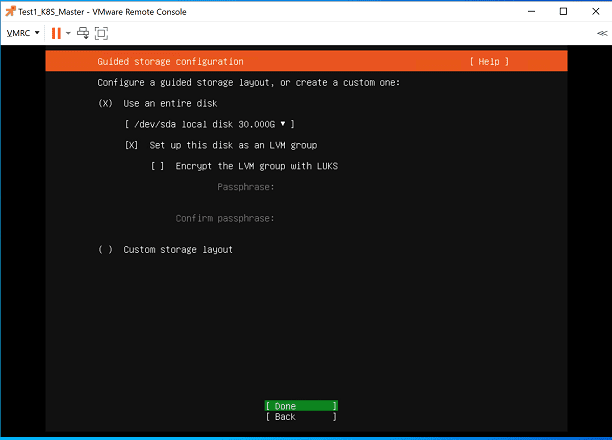
11. Make sure you changed the size of ubuntu-lv logical volume as same as ubuntu-vg volume group size. Because as default ubuntu-lv size is lower than ubuntu-vg size. Ubuntu linux setup doesn’t assign whole ubuntu-vg size to ubuntu-lv logical volume. If you want to change it later just click on Done to forward
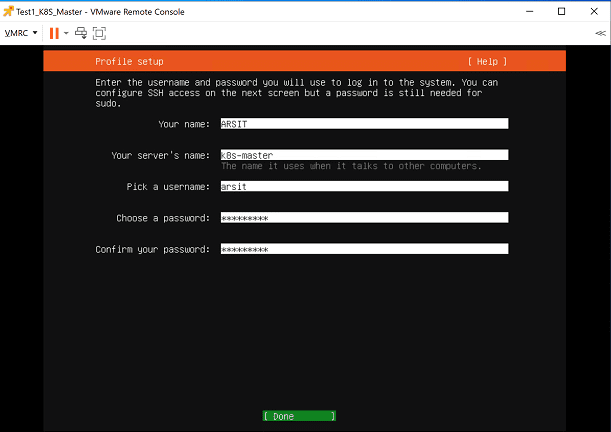
12. Write server name, user name and password as you desired according to your infrastructure design
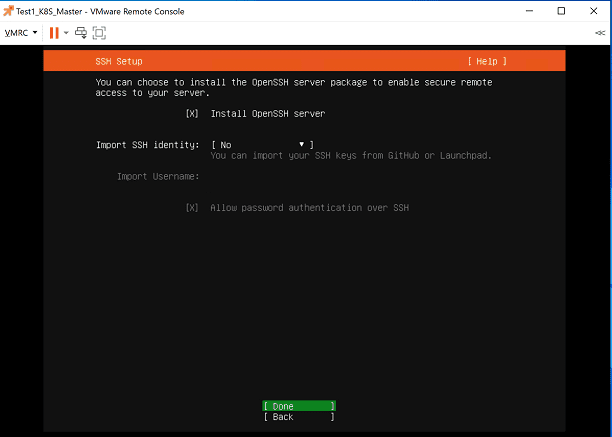
13. If it is not choosed, click on Install OpenSSH Server to install ssh server to be able to connect to your linux server along with setup
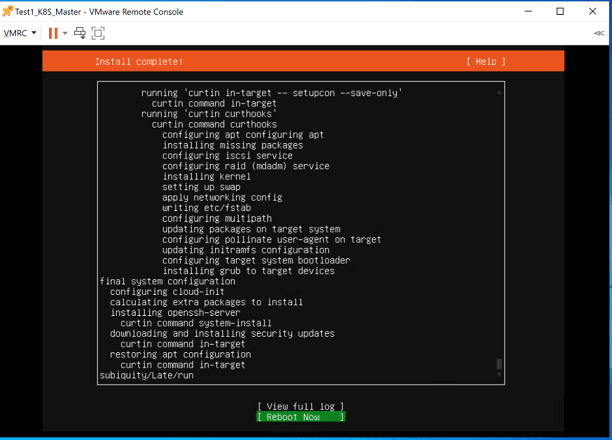
14. Remove the installation dvd and click on Reboot Now to restart vm and finish the setup
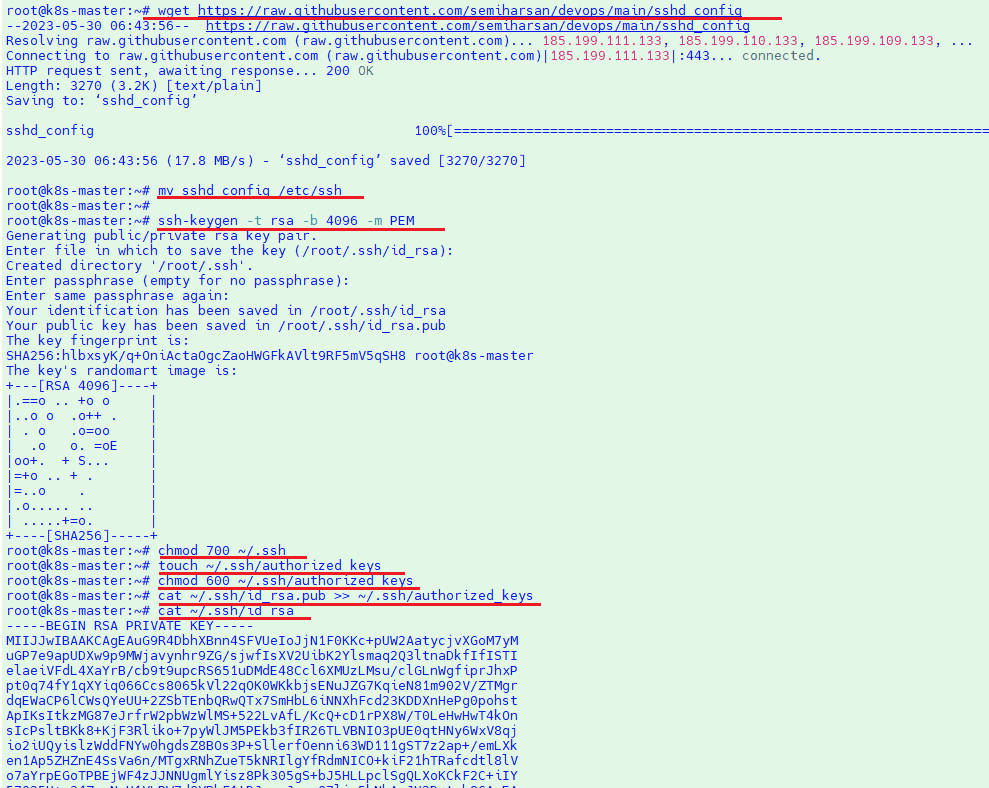
15.Now we will download and apply sshd configuration to make more secure ssh connections. These are middle level security settings for ssh connections and however you are free to search and find more strict rules for your environment. After apply sshd config then we will create ssh key file to use for ssh connections. Ssh-keygen command creates 3 files with name authorized_keys, id_rsa and id_rsa.pub. When you try to connect to linux with putty, terminal or any other ssh client application, your client app will send id_rsa key to linux, linux will compare this key with the pub key inside authorized_keys file and if keys are matched then linux will allow your client app to connect. So you just need to copy id_rsa.pub file content into authorized_keys file and save only this authorized_keys file in ~/.ssh folder under your home folder and save id_rsa file in your computer to use with your ssh client application. I will write commands below to copy. I have run all commands under root user that s why there is no sudo before commands. After ssh restart and connect to vm with ssh or on console, change ip address to something that you will not use. Because we will create a template from this vm. We don’t want ip conflicts, right? 😊
wget https://raw.githubusercontent.com/semiharsan/devops/main/sshd_config
mv sshd_config /etc/ssh
ssh-keygen -t rsa -b 4096 -m PEM
chmod 700 ~/.ssh
touch ~/.ssh/authorized_keys
chmod 600 ~/.ssh/authorized_keys
cat ~/.ssh/id_rsa.pub >> ~/.ssh/authorized_keys
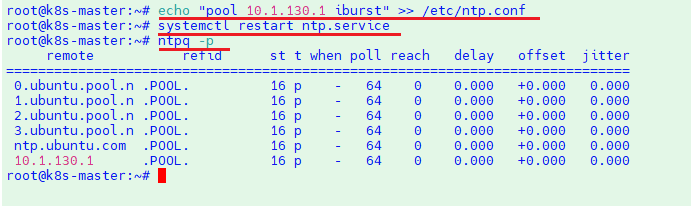
apt install ntp -y
echo “pool 10.1.130.1 iburst” >> /etc/ntp.conf
systemctl restart ntp.service
ntpq -p
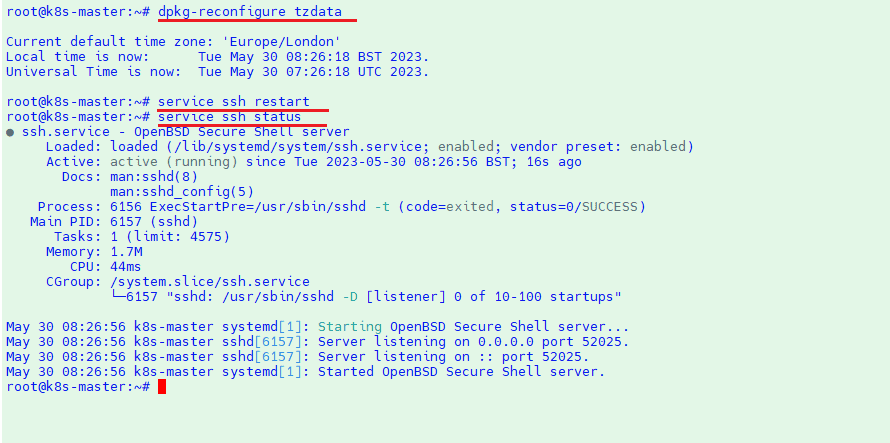
dpkg-reconfigure tzdata
service ssh restart#
nano /etc/netplan/00-installer-config.yaml # This command is to change ip address
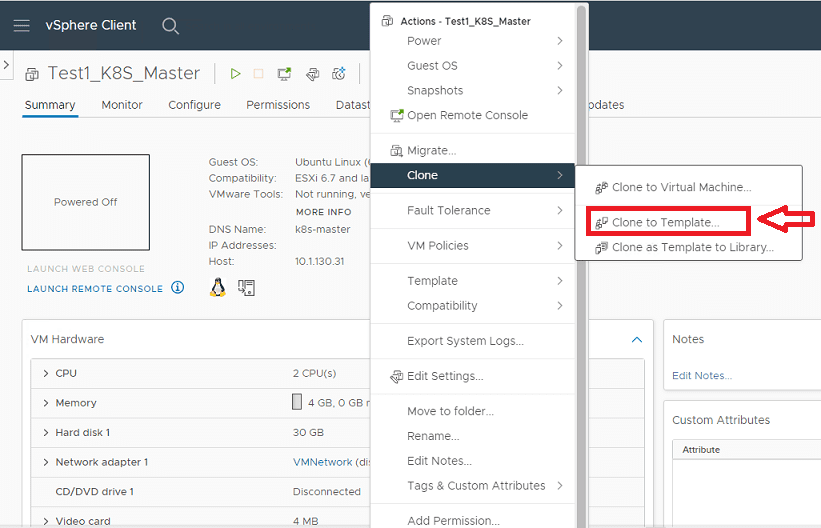
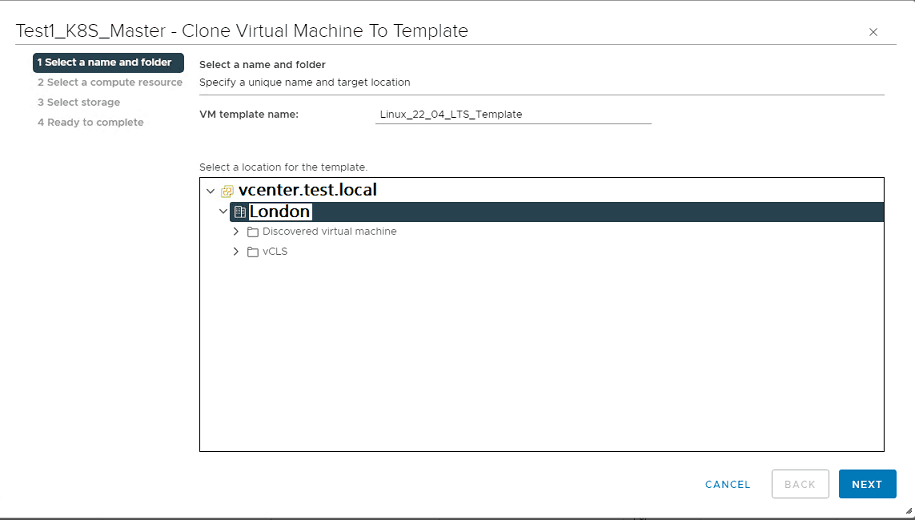
16. Click on “Clone to Template” to create a template vm from this vm on Actions menu in VM summary page
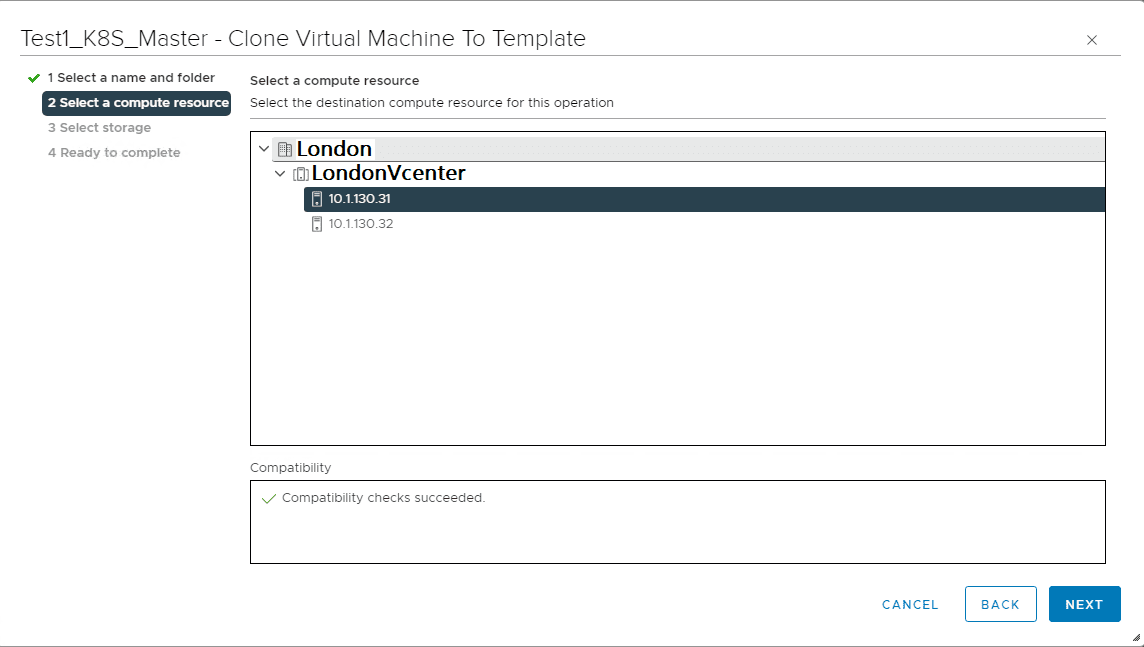
17. Write a template name different than vm name. Then choose compute resource and storage to save template files. Basically, vcenter will copy vmdk and vm files to a folder in the chosen storage with name that you wrote to use later to create a new vm from this template when you want

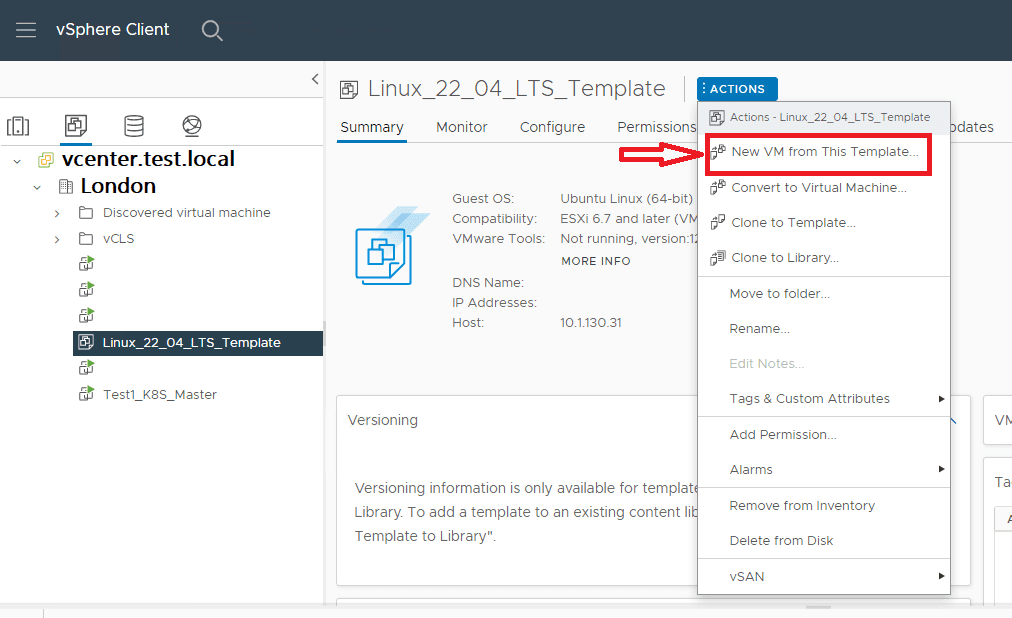
18. Click on VMS and Templates on vcenter interface. Then, click on your template vm and Actions menu in summary page. Then click on “New VM from This Template” to create a new vm
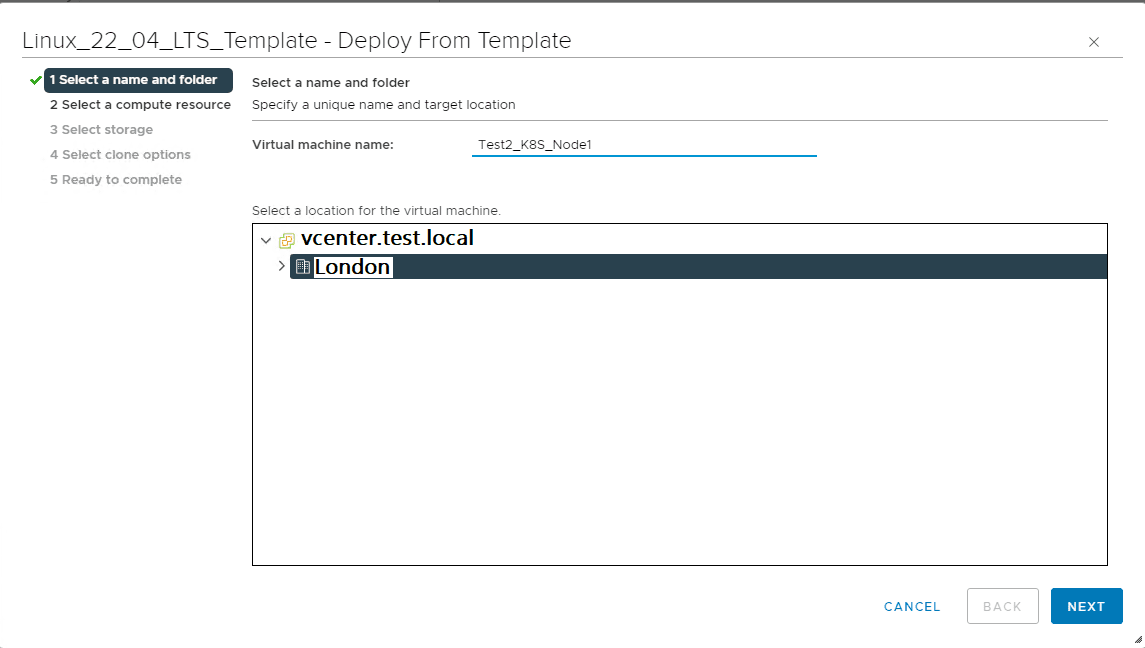
19. Write a name for your new vm, choose compute resource to run this new vm and storage to save vm files
20. Now power on your first vm and connect to console or ssh and change ip address with command “nano /etc/netplan/00-installer-config.yaml” to ip address that you want and then power on second and change ip address with same way as you do at first vm. Do same thing one by one for other vms as well. Now your linux servers are ready to install Kubernetes Cluster. Please go to next post to learn installation steps for K8S